Use Smart Edit Masking to make precise changes
Sometimes you want to make a change that's too difficult to describe in a prompt - for example, on the panel of a shoe or a specific spot to place a logo.
With Smart Edit Masking you can pick precisely the area you want to change.
How it works
Masking works inside Smart Edit.
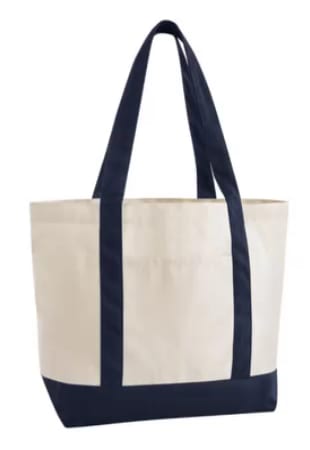
Add your image
Open Smart Edit and upload a product image, or use one you've generated in NewArc.
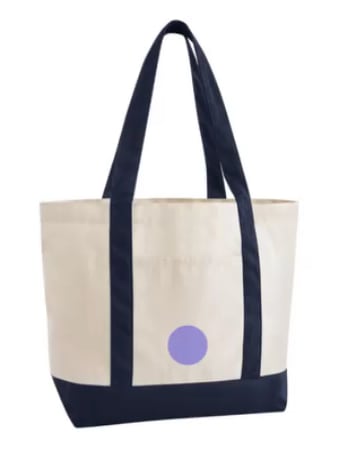
Mask the area
Click 'Add mask' and select the part you want to change. Adjust the brush size to suit the detail.
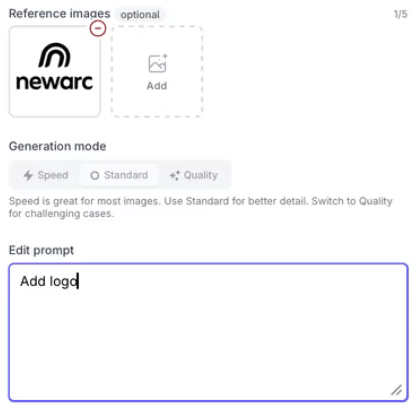
Describe the change
Write a short prompt. Add a reference image if you want to place a logo, graphic or specific detail.
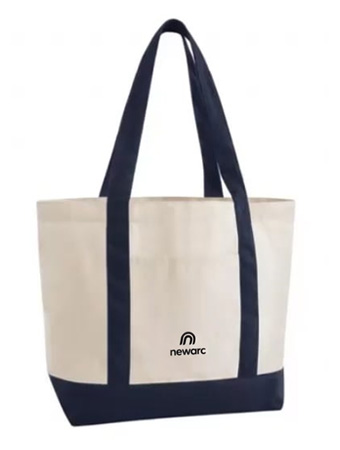
Generate
Click 'Generate'. The edit lands inside your mask. The rest of the image stays the same.
Ways to use Smart Masking
Masking gives designers more control over specific design changes. Here are some examples.
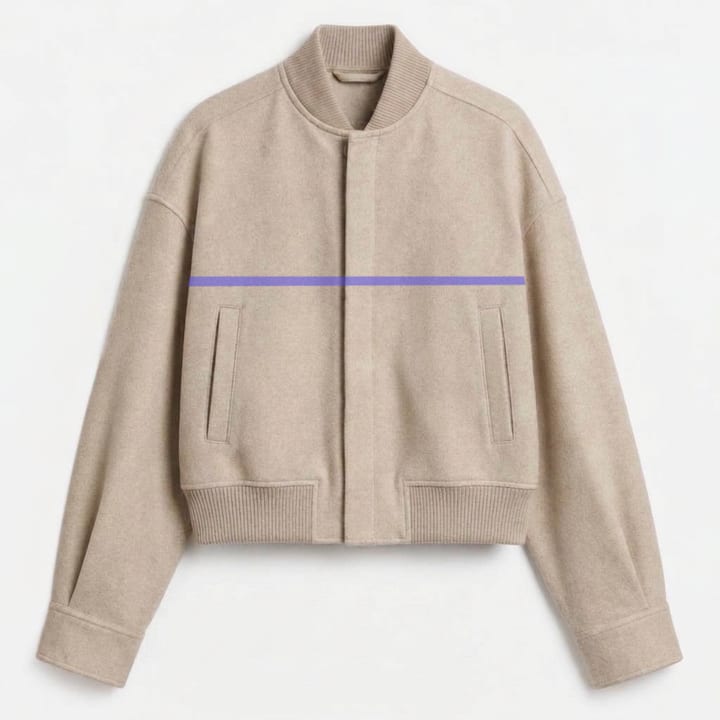
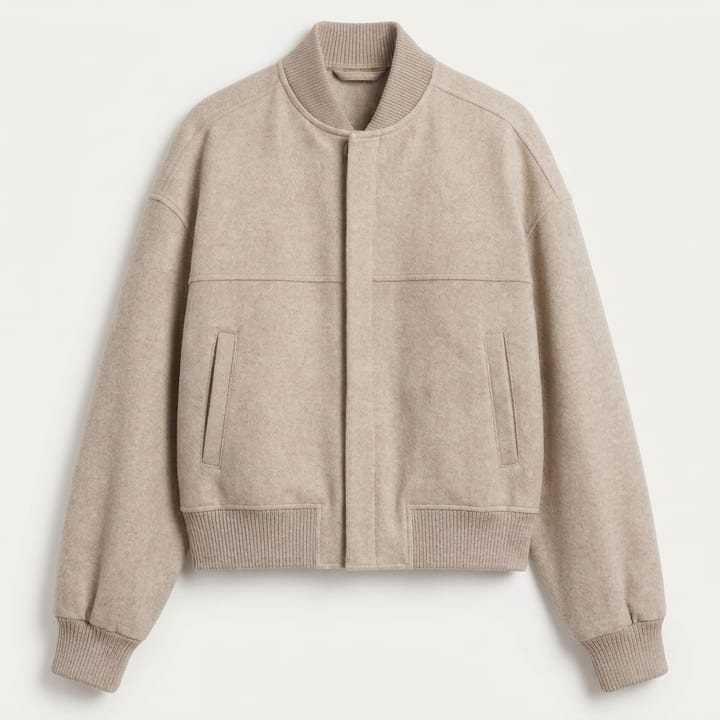
Add to it
Add something new to your image.
Edit prompt: Add seam with edge stitch.
Remove it
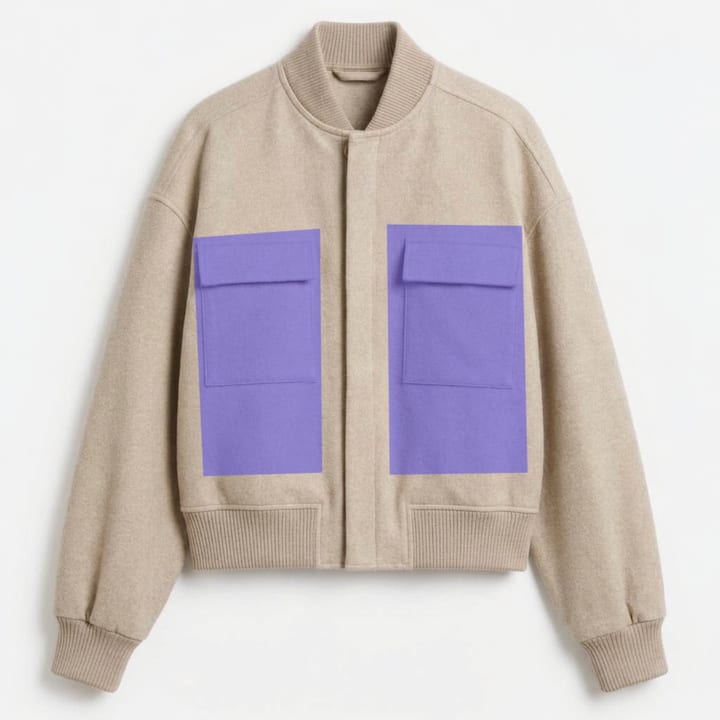
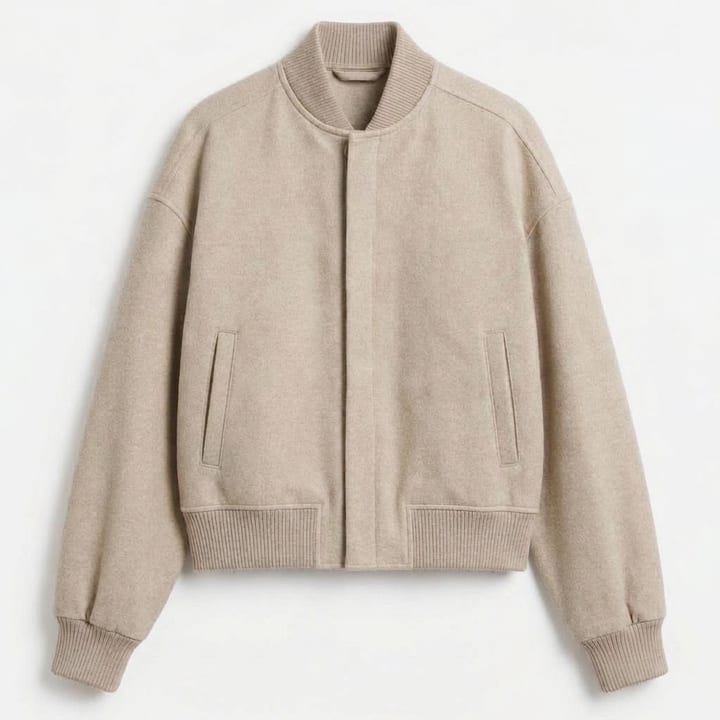
Take out a detail you don't need.
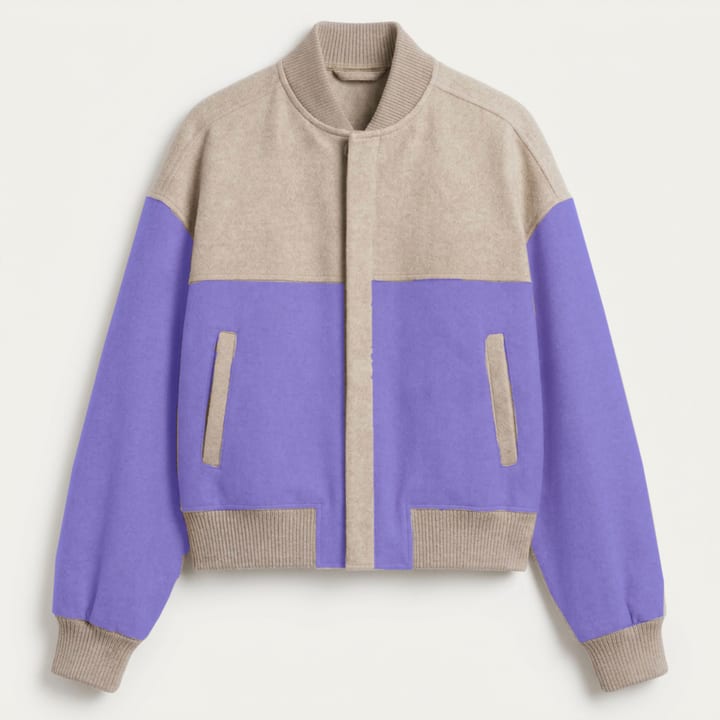
Edit prompt: Remove and add vertical welt pockets.
Reshape it
Change the shape of a detail.
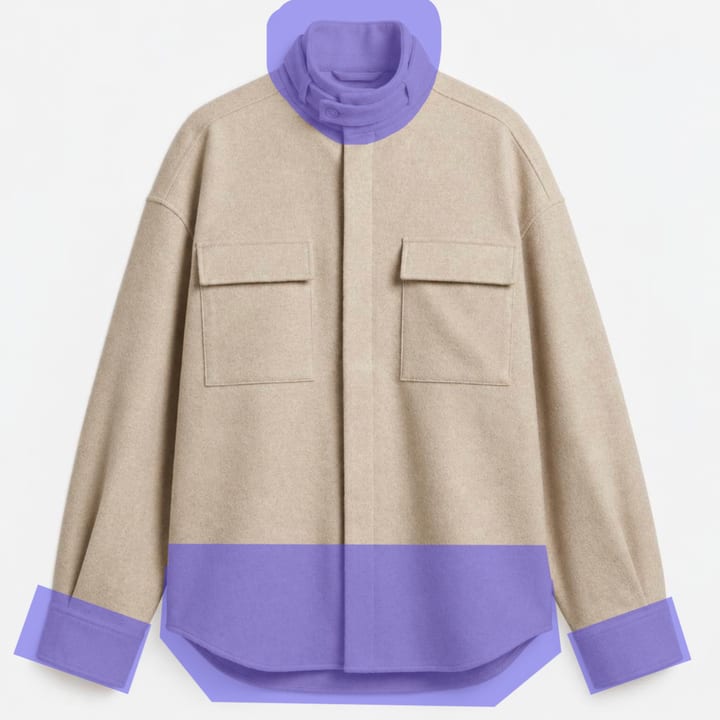
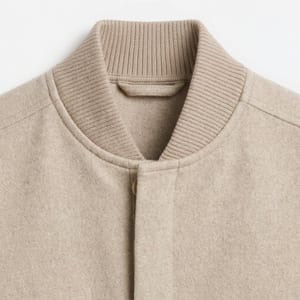
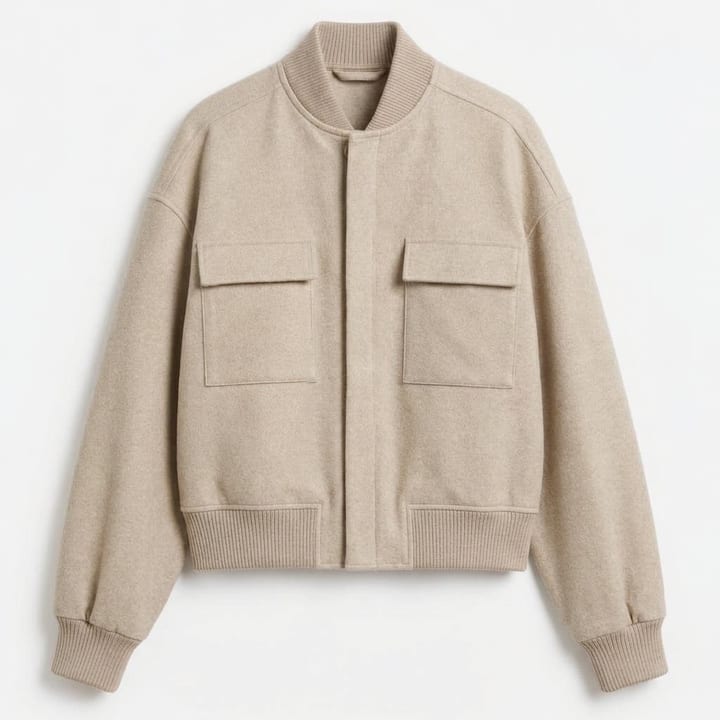
Edit prompt: Amend to be shorter and rib hem. Collar to be as reference image and rib cuff.
Change it
Swap a detail for a new one.
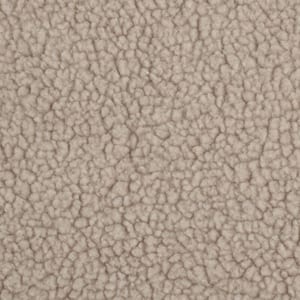
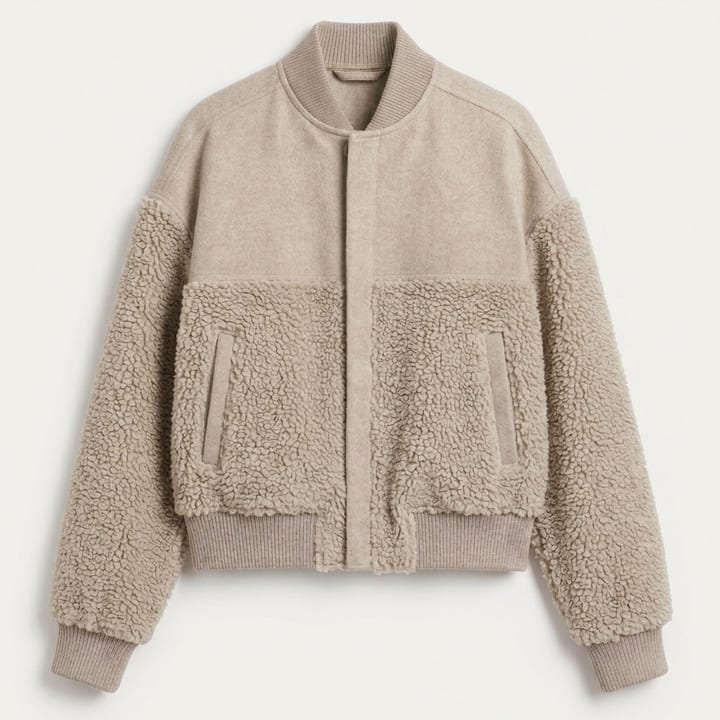
Edit prompt: Change to be fabric in reference image.
See it in action
FAQs
Guide your next edit with a mask
Open Smart Edit, upload an image and click 'Add mask'.